
Built-in ovens with air fryer functionality are revolutionizing modern kitchens, offering the perfect combination of traditional baking and the efficiency of air frying. If you’ve recently installed one or are considering upgrading, this guide will help you master its features and achieve delicious, crispy results with minimal effort. Let’s explore how you can make the most of your built-in oven with air fryer capabilities.
What is a Built-In Oven with Air Fryer Function?
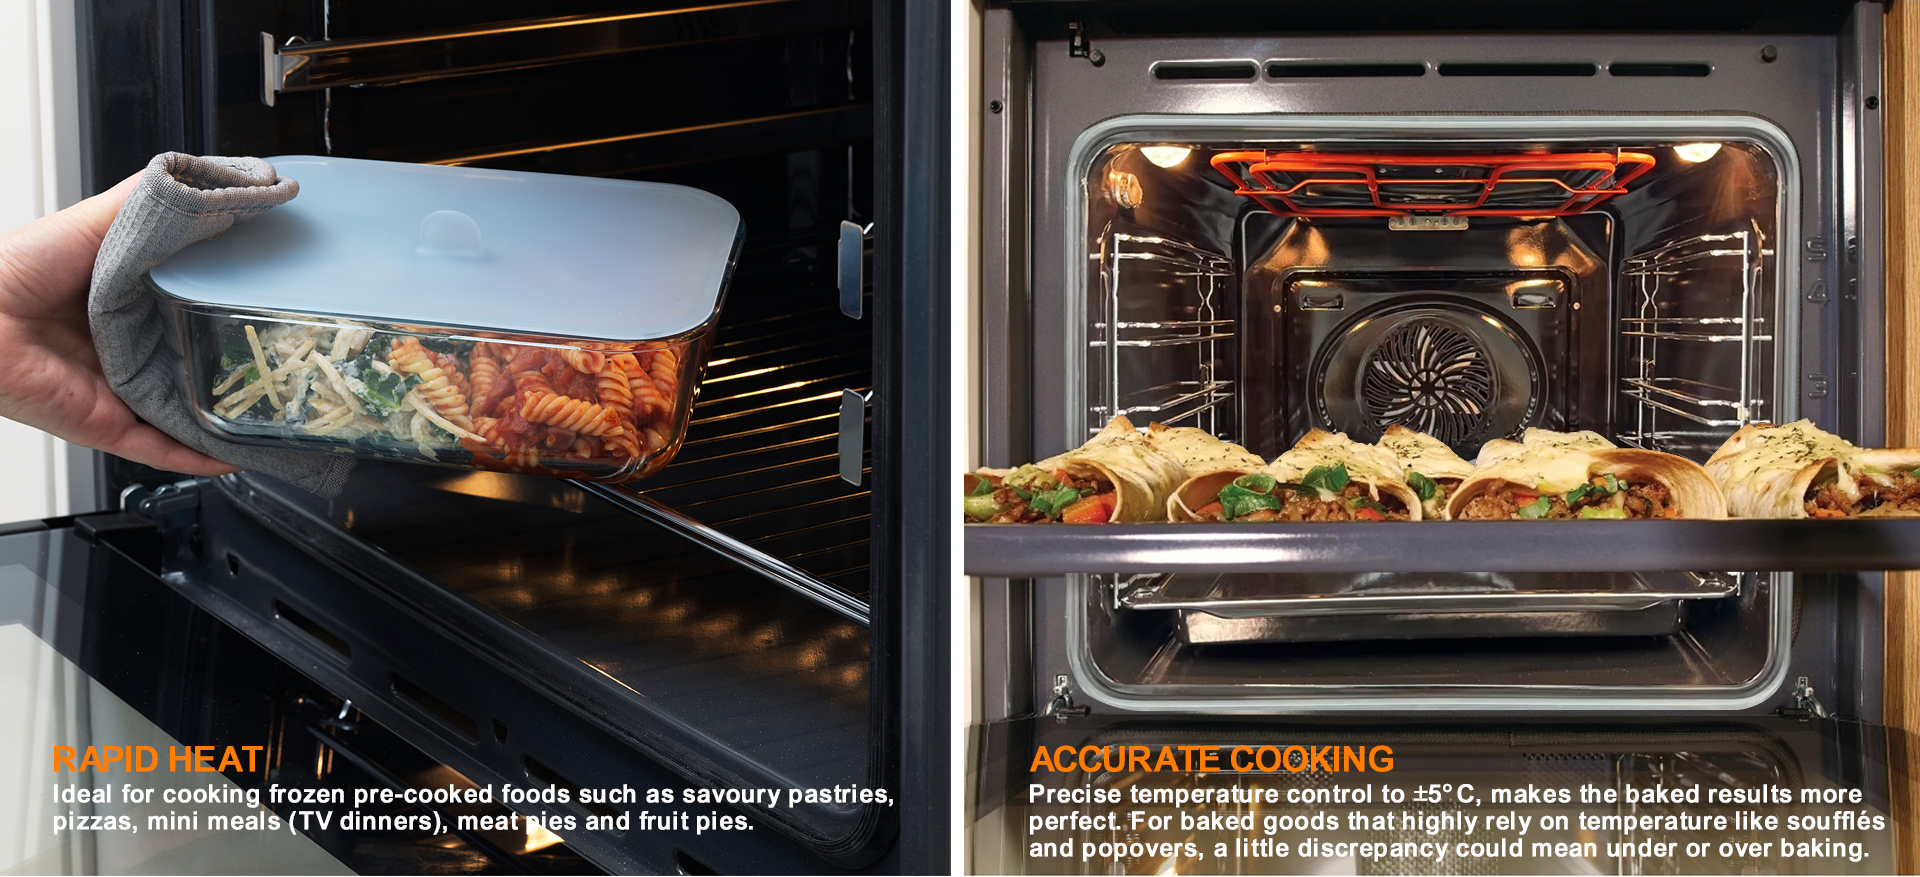
A built-in oven with an air fryer function combines the versatility of a traditional oven with the advanced technology of air frying. Unlike standalone air fryers, this built-in version is seamlessly integrated into your kitchen cabinetry, offering a sleek and professional look. The air fryer function uses a high-powered fan to circulate hot air around the food, creating a crispy exterior while keeping the inside tender and juicy—all with little to no oil.
Benefits of Using a Built-In Oven with Air Fryer
-
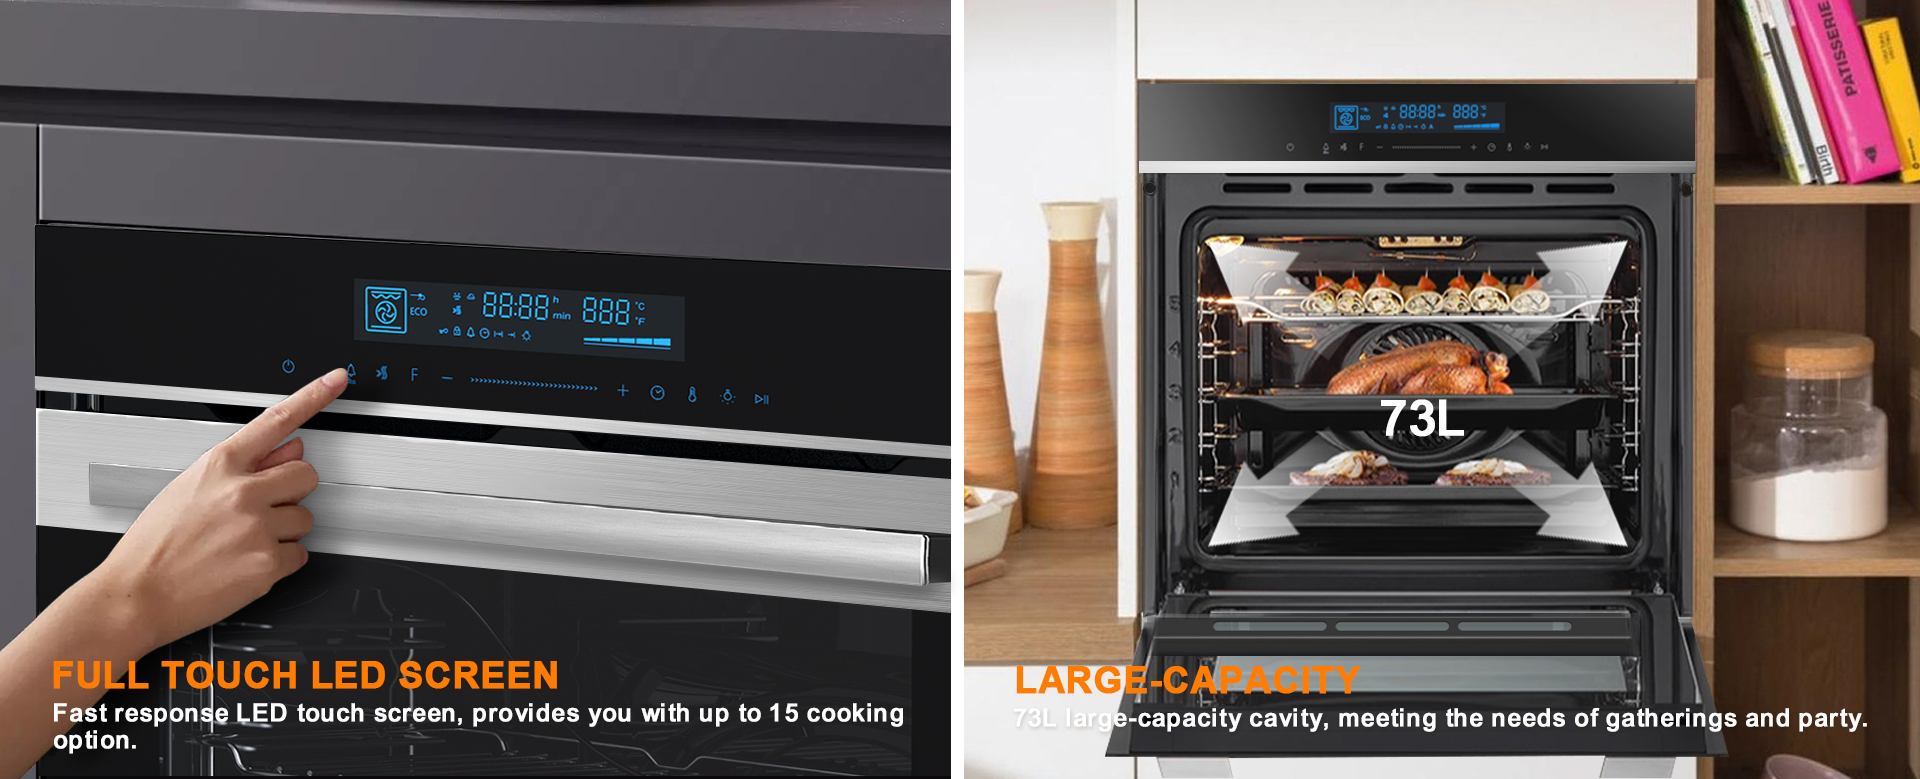
Space Efficiency: Built-in ovens are installed directly into your kitchen, saving valuable counter space.
-
Healthier Cooking: Air frying requires significantly less oil than traditional frying, making it a healthier option for crispy foods.
-
Versatility: From roasting and baking to air frying and broiling, this appliance can handle a wide range of cooking tasks.
-
Time-Saving: The air fryer function cooks food faster than conventional methods, perfect for busy households.
-
Aesthetic Appeal: Built-in ovens enhance the overall look of your kitchen, offering a polished and modern design.
How to Use Your Built-In Oven with Air Fryer Function
1. Read the User Manual
Start by familiarizing yourself with the appliance. Each built-in oven model may have unique features, preset modes, or specific instructions for air frying. The manual will also provide guidance on temperature ranges and cooking times.
2. Preheat the Oven
Preheating is crucial for achieving the best results. Set your oven to the recommended temperature for air frying, typically between 350°F and 400°F (175°C to 200°C). Most built-in ovens have a dedicated air fryer setting or a convection mode designed for this purpose.
3. Prepare Your Food
-
Pat Dry: Use a paper towel to remove excess moisture from your food. This step is critical for achieving a crispy texture, as moisture can prevent proper browning.
-
Lightly Oil: While air frying requires less oil, a light coating (using a spray bottle or brush) can enhance browning and flavor.
-
Season: Add your favorite spices, herbs, or marinades to elevate the taste.
4. Arrange Food Properly
-
Use the provided air fryer basket or tray to ensure proper air circulation. Avoid overcrowding, as this can prevent hot air from reaching all sides of the food.
-
For even cooking, shake or flip food halfway through the cooking process, especially for smaller items like fries or chicken tenders.
5. Set the Temperature and Timer According to Your Recipe
Air frying typically requires shorter cooking times compared to traditional methods. Refer to your recipe for the recommended temperature and timer settings. Most built-in ovens allow you to easily adjust these parameters for precise cooking.
6. Monitor Cooking Progress
Keep an eye on your food, especially during the first few uses, to avoid overcooking. Air frying is faster than conventional methods, so adjustments may be needed based on your oven’s performance.
7. Clean the Oven After Use
Once your meal is ready, allow the oven to cool before cleaning. Remove and wash the air fryer basket or tray, and wipe down the interior to remove any grease or food particles.
Tips for Optimal Results
-
Use Parchment Paper or Liners: These can prevent sticking and make cleanup easier.
-
Experiment with Recipes: From crispy fries to roasted vegetables and even baked goods, the possibilities are endless.
-
Avoid Wet Batters: Wet batters may not crisp up as effectively in an air fryer. Stick to dry or lightly coated foods for the best results.
-
Check for Doneness: Use a meat thermometer to ensure proteins are cooked to the appropriate internal temperature.
Popular Recipes to Try
-
Crispy Air-Fried Chicken Wings: Toss wings in a light coating of oil and seasoning, then air fry at 400°F for 20-25 minutes, flipping halfway through.
-
Roasted Vegetables: Toss veggies like broccoli, carrots, or Brussels sprouts with olive oil and spices, then air fry at 375°F for 15-20 minutes.
-
Air-Fried French Fries: Cut potatoes into strips, lightly coat with oil, and air fry at 380°F for 15-20 minutes, shaking occasionally.
Conclusion
A built-in oven with an air fryer function is a versatile and efficient addition to any kitchen, offering healthier, faster, and more convenient cooking options. By following these steps and tips, you can make the most of this innovative appliance and enjoy restaurant-quality meals at home. Whether you’re air frying, baking, or roasting, this built-in solution is sure to elevate your culinary experience.